

Installing Glue-Down LVT Flooring
Installing Glue-down or "Dryback" LVT flooring may appear like a daunting task. We're here to reassure you that it doesn't need to be!
Achieving a seamless and simple installation is all based in the preparation. Below we will talk you through the different steps you need to take to ensure you get a beautiful finish with minimal hassle!
Check out our "How To" video below or, follow our step-by-step guide beneath for all the "tips and tricks" to ensure a flawless finish


Subfloor Preparation
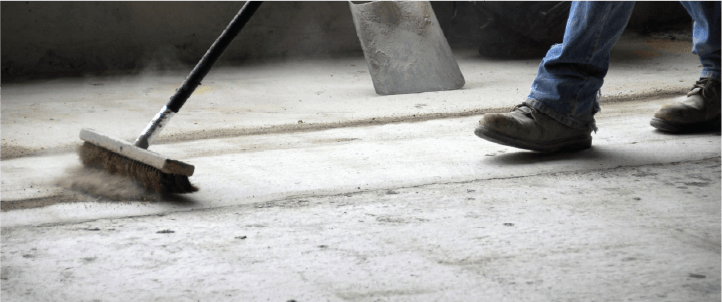
The first and most important stage of your preparation is your subfloor. Start by ensuring that the subfloor is completely clean, level, and free of any debris or imperfections. Your subfloor also needs to be completely smooth. If there are any lumps, bumps or depressions in your subfloor, over-time, these imperfections will begin to show through your flooring and create something called "telegraphing"
Acclimatise the flooring to the room's temperature for at least 24 hours prior to installation. Ensure your rooms temperature stays between 18 and 27 degrees before during and after (72 hours) installation. You will need a measuring tape, adhesive or glue-down LVT underlay a straight edge and sharp stanley knife/blade.

Planning, Layout & Measure
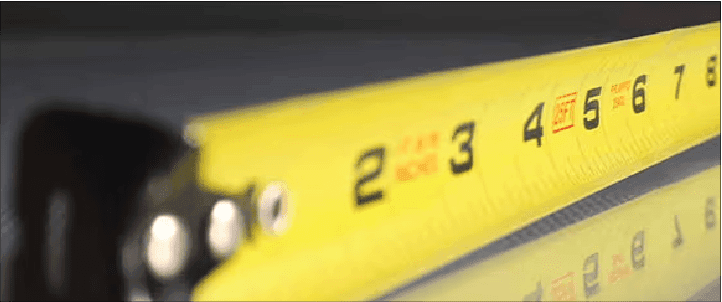
Next, decide which direction you are going to lay your flooring in and measure the width and length of the room. You will want to make sure you have an even distribution of boards/tiles when you start laying.
To start your first row, you will want to ideally use a laser measure to create a perfectly straight line across your room in the direction you have chosen to fit. This line will help you fit the first board which all other boards will then fit next to.

Adhesive or Underlay
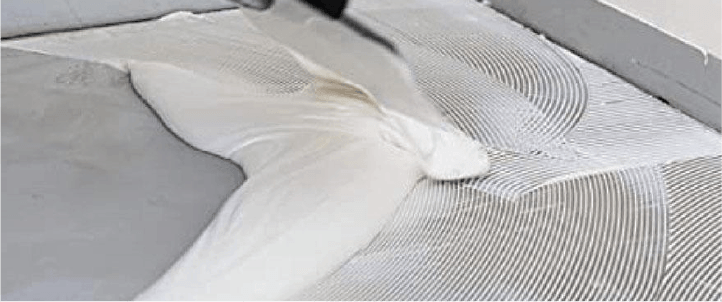
Whether you're choosing adhesive or our Stickdown LVT Underlay, its vital to work in small areas.
If you're using adhesive, apply a small amount to your subfloor to one side of your initial guideline. You need to allow time for this to dry until it becomes tacky before laying your first row.
If you've decided to go with our underlay, simply roll out, peel back the top clear layer and you're good to go.

Laying Your First Row
Starting at one side of the room, and following your initial guideline, starting with the end of the board closet to the wall, slowly lower the board down onto your underlay or adhesive, making sure the long side of the board stays perfectly parallel to the line.
You will see that stick-down LVT is quite flexible, take your time and slowly lower the board down. Make sure the board fully adheres to your underlay or adhesive. We would advise you use a weighted roller to ensure full adhesion.


Continue To Fit
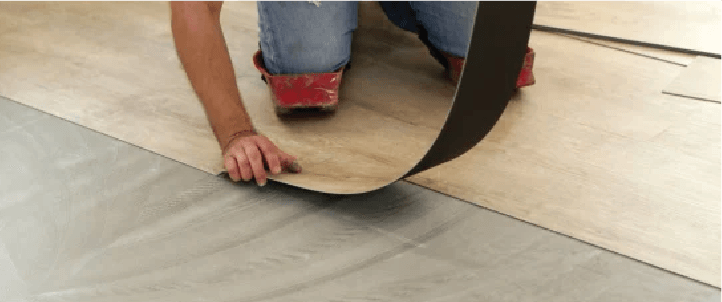
Once your first board is in place, take your second board and fit from the short edge of the board. Align the corner of the board to be as tight to the adjoining board and your guideline and then flex the board down on to your underlay of adhesive and ensure you stay tight on the short edge and long edge on your guideline.
This method applies to all other board. Align the corner, keep both the short and long joint as tight to the adjoining board as you can!

Making Your First Cut
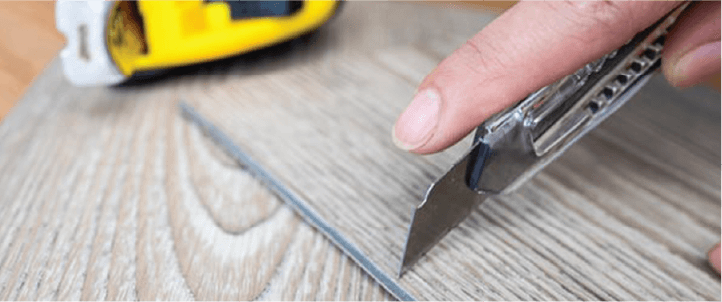
When you get the opposite side of the room, measure the remaining space between the last laid board and your wall and take note of the measurement. Measure the same distance on the board you intend to fit, use a straight edge to mark across the width of the board. Using a sharp knife, score the board (you may need 2-3 scores) and then lift and "snap" the board. Fit this board in the same way as above.

Continue Your Lay
Once your first row is in place, follow the same process making sure each board is fitted tight on both the long and short edge of each board. Work in sections; Rome wasn't built in a day so take your time and keep your joints tight.
Once all boards are fitted, roll the entire floor again with your weighted roller and allow the boards to adhere to the subfloor. Wipe clean, step back and admire your newly laid Glue-Down LVT Flooring
