

Mastering the Art of Installing Herringbone Flooring
Installing herringbone flooring can add timeless elegance and charm to any space, whether it's a residential home, office, or commercial establishment. The intricate pattern of herringbone creates visual interest and depth, making it a popular choice among interior designers and homeowners alike. However, achieving the perfect installation requires careful planning, precise measurements, and expert craftsmanship. In this comprehensive guide, we will walk you through the step-by-step process of fitting herringbone flooring to perfection.

Check out our "How To" video below or, follow our step-by-step guide further down this page to for all the "tips and tricks" to ensure a flawless finish to your herringbone flooring

Pre-Installation Preparation
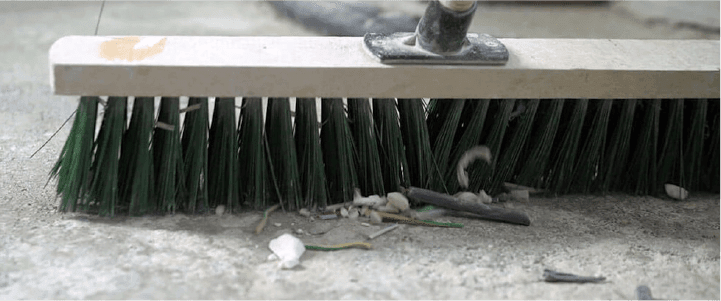
Before diving into the installation process, it's essential to properly prepare the space and gather all the necessary tools and materials. Start by ensuring that the subfloor is clean, level, and free of any debris or imperfections. Next, acclimatise the herringbone flooring to the room's temperature and humidity levels to prevent warping or expansion post-installation. Gather tools such as a chop saw, tape measure, spacers, adhesive, and a tapping block to facilitate the installation process.

Planning and Layout
One of the critical steps in installing herringbone flooring is planning the layout to achieve symmetry and balance in the pattern. Begin by finding the center point of the room and establishing a reference line using chalk or a straightedge. From there, carefully lay out the first row of herringbone planks, ensuring that they are aligned correctly with the reference line and spaced evenly using spacers. It is also imperative that you ensure all joints are engaged at a perfect 90 degree angle. This initial row sets the foundation for the rest of the installation, so take your time to ensure precision.

Cutting and Fitting
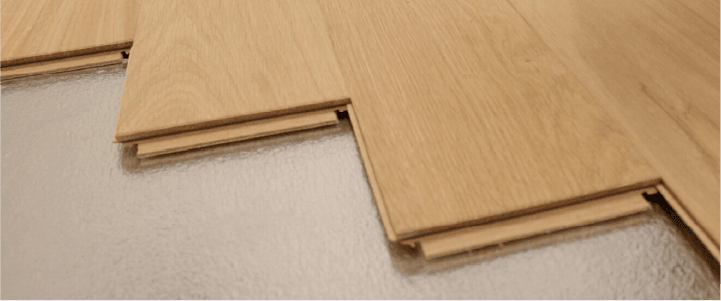
Once the first row is in place, it's time to cut and fit the herringbone planks for the subsequent rows. Measure and mark each plank accurately before making cuts with a chop saw, ensuring precise angles to achieve the characteristic zigzag pattern of herringbone. Use a tapping block and rubber mallet (if required) to snugly fit each plank together, maintaining consistent spacing with spacers along the way. Pay close attention to corners and transitions, making necessary adjustments to maintain the integrity of the pattern.

Adhesive Application
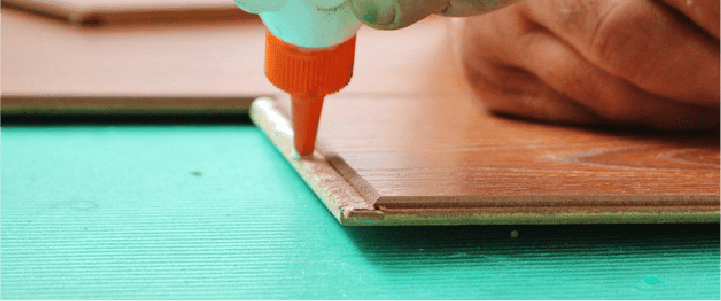
As you progress with the installation, some manufacturers will stipulate you will need apply a high-quality adhesive to the joint(s) of each herringbone plank before laying it down. Always check the manufacturer guidelines prior to fitting. Work in small sections, applying adhesive only to the area where you'll be installing planks to prevent it from drying out prematurely. Wipe away any excess adhesive immediately to avoid unsightly smudges or residue on the surface of the flooring.

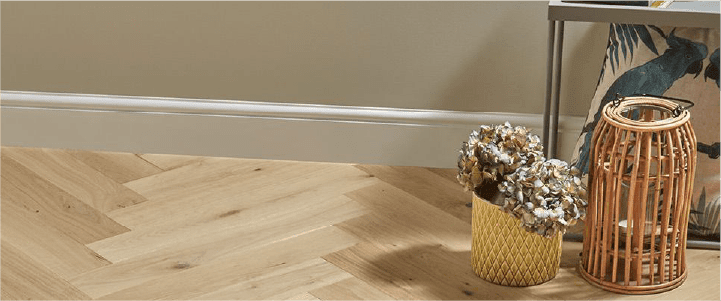
Finishing Touches
Once all herringbone planks are installed and any adhesive has cured according to the manufacturer's instructions, it's time for the finishing touches. Carefully remove any remaining spacers and clean the surface of the flooring to remove any dust or debris. Depending on how you've laid the flooring, now is the time for skirting or beading to cover your expansion gaps. Finally, step back and admire your handiwork, knowing that you've mastered the art of installing herringbone flooring with precision and skill.

Installing herringbone flooring is a rewarding endeavor that can transform any space into a showcase of timeless beauty and sophistication. By following the step-by-step process outlined in this guide, you can achieve professional-quality results that will impress for generations to come. Remember to take your time, plan carefully, and pay attention to detail throughout the installation process to ensure a flawless finish. With patience and perseverance, you can master the art of installing herringbone flooring like a true expert.
